Sourdough FAQ


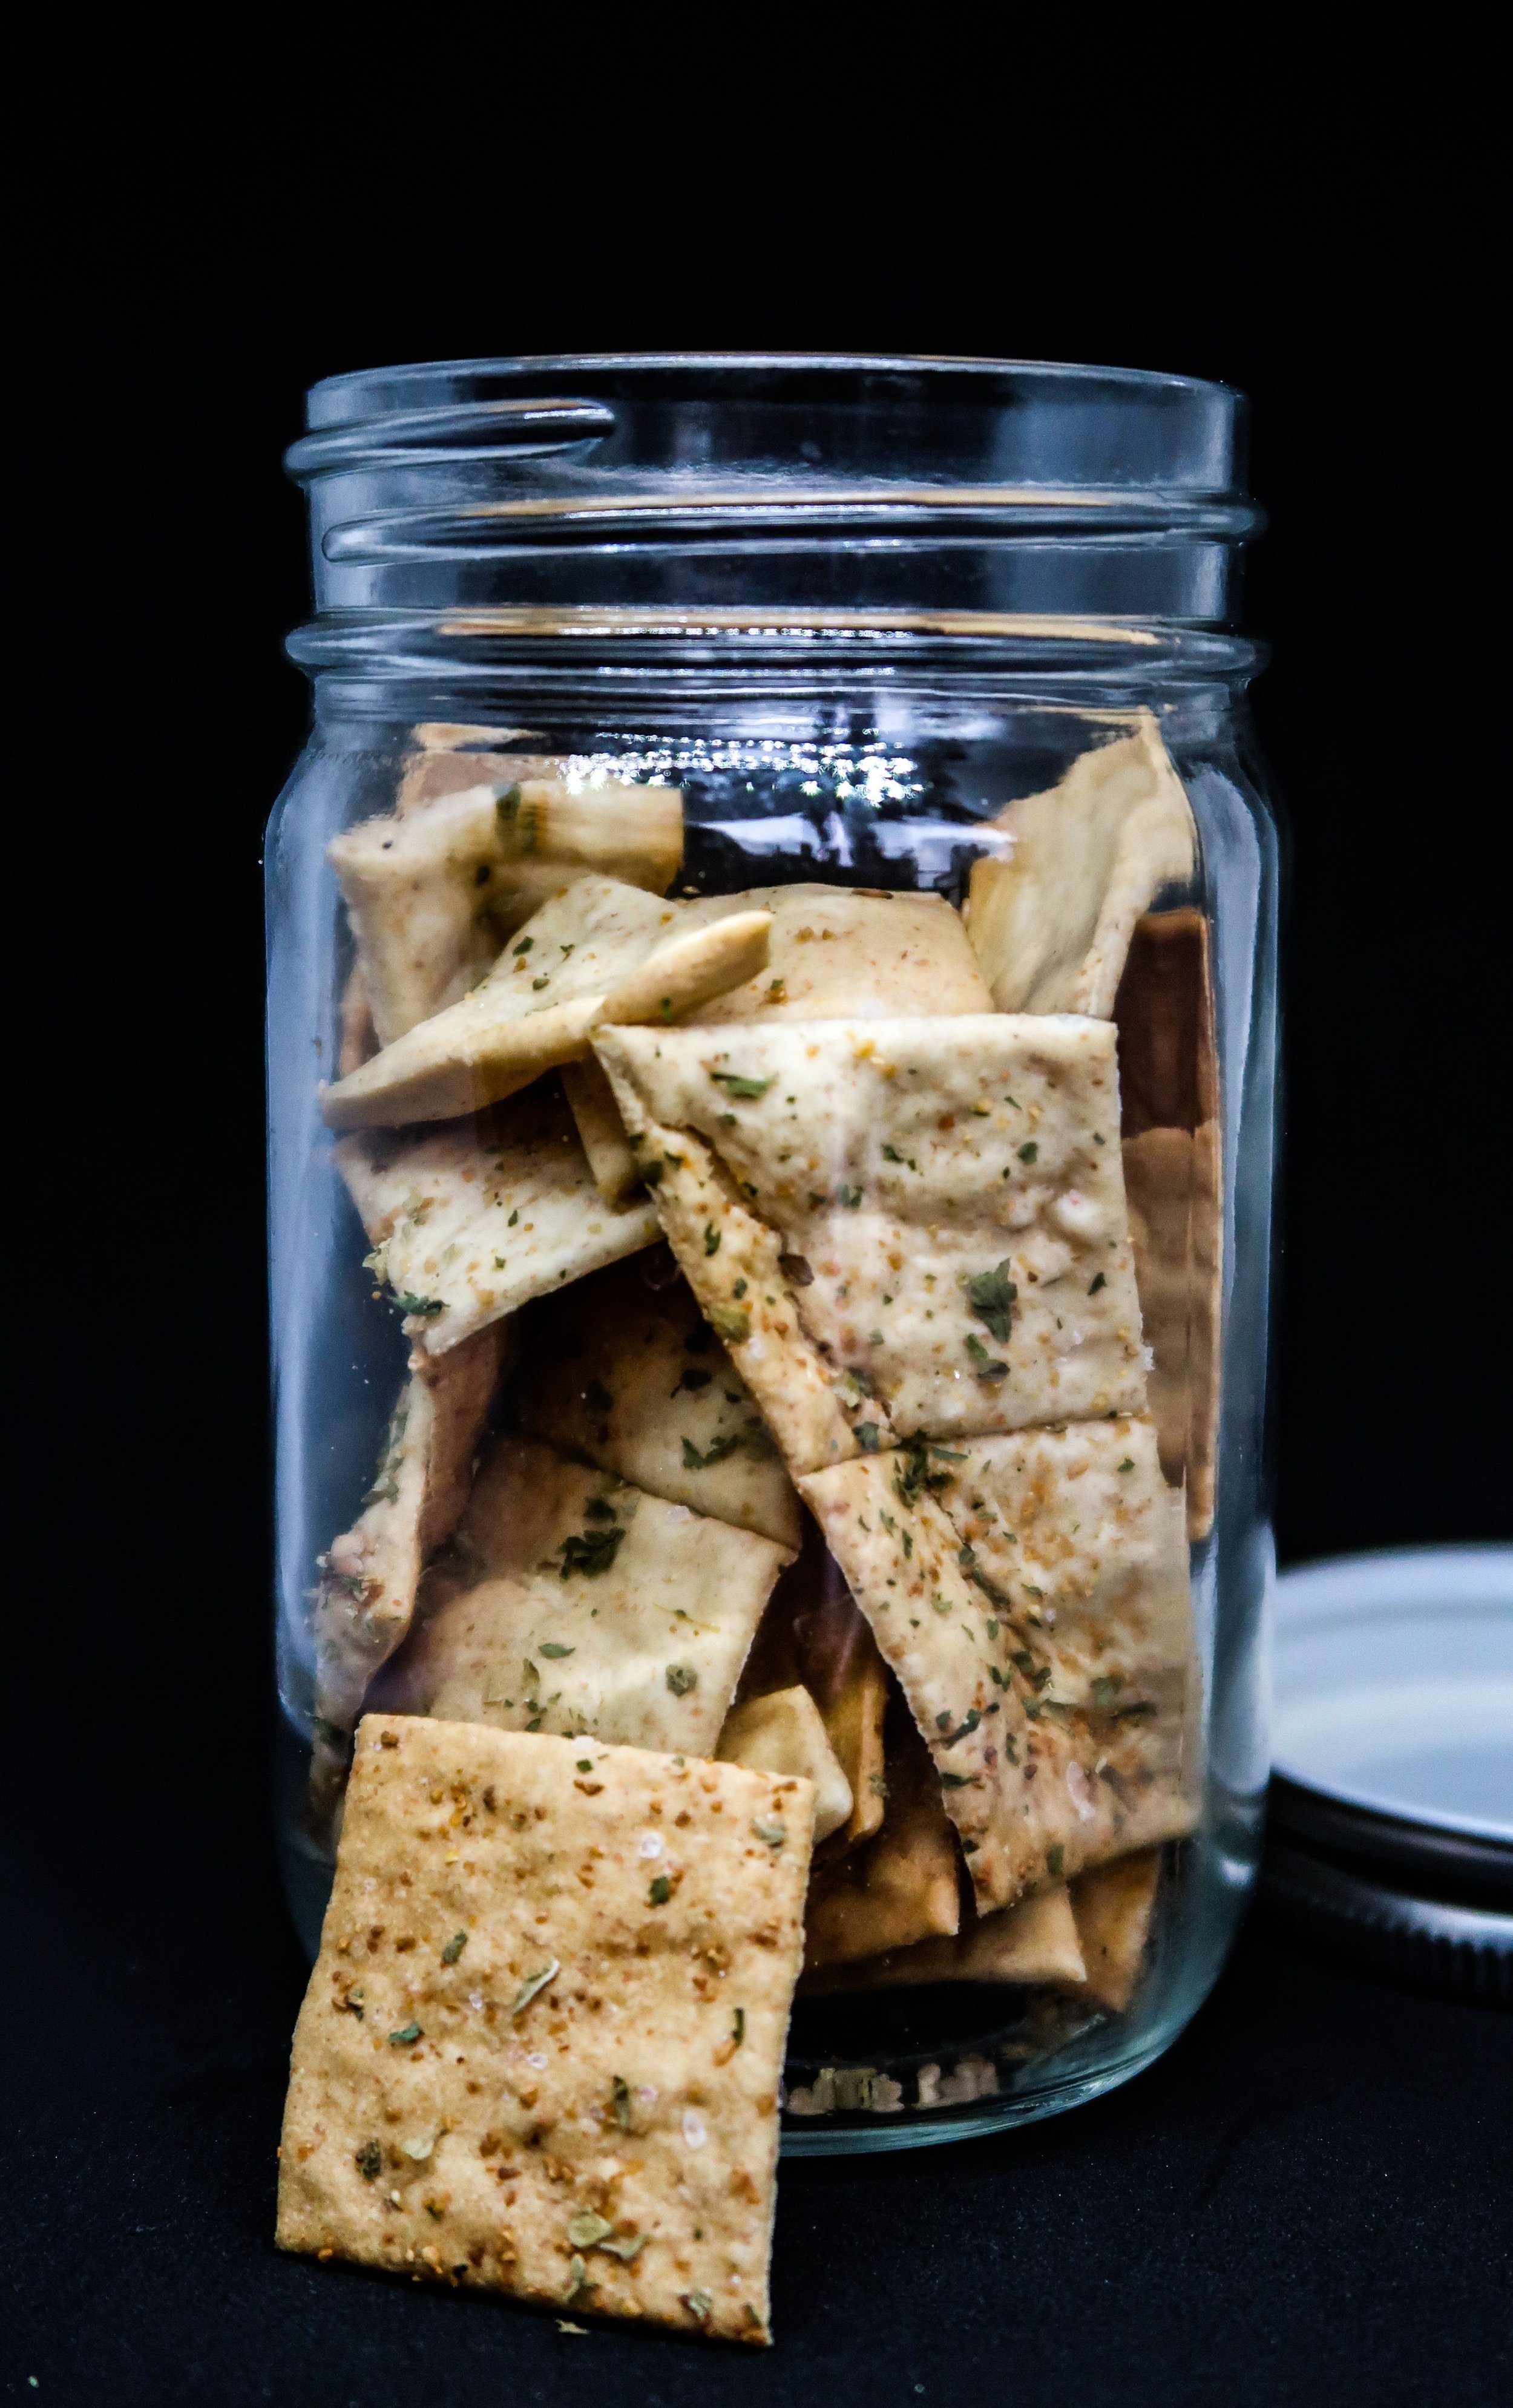
sourdough discard crackers
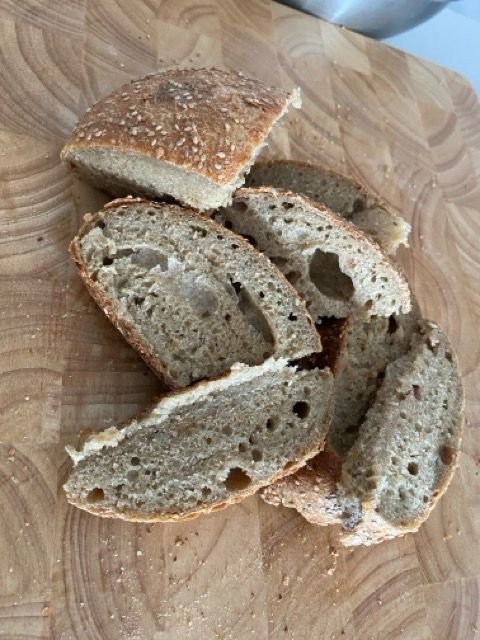
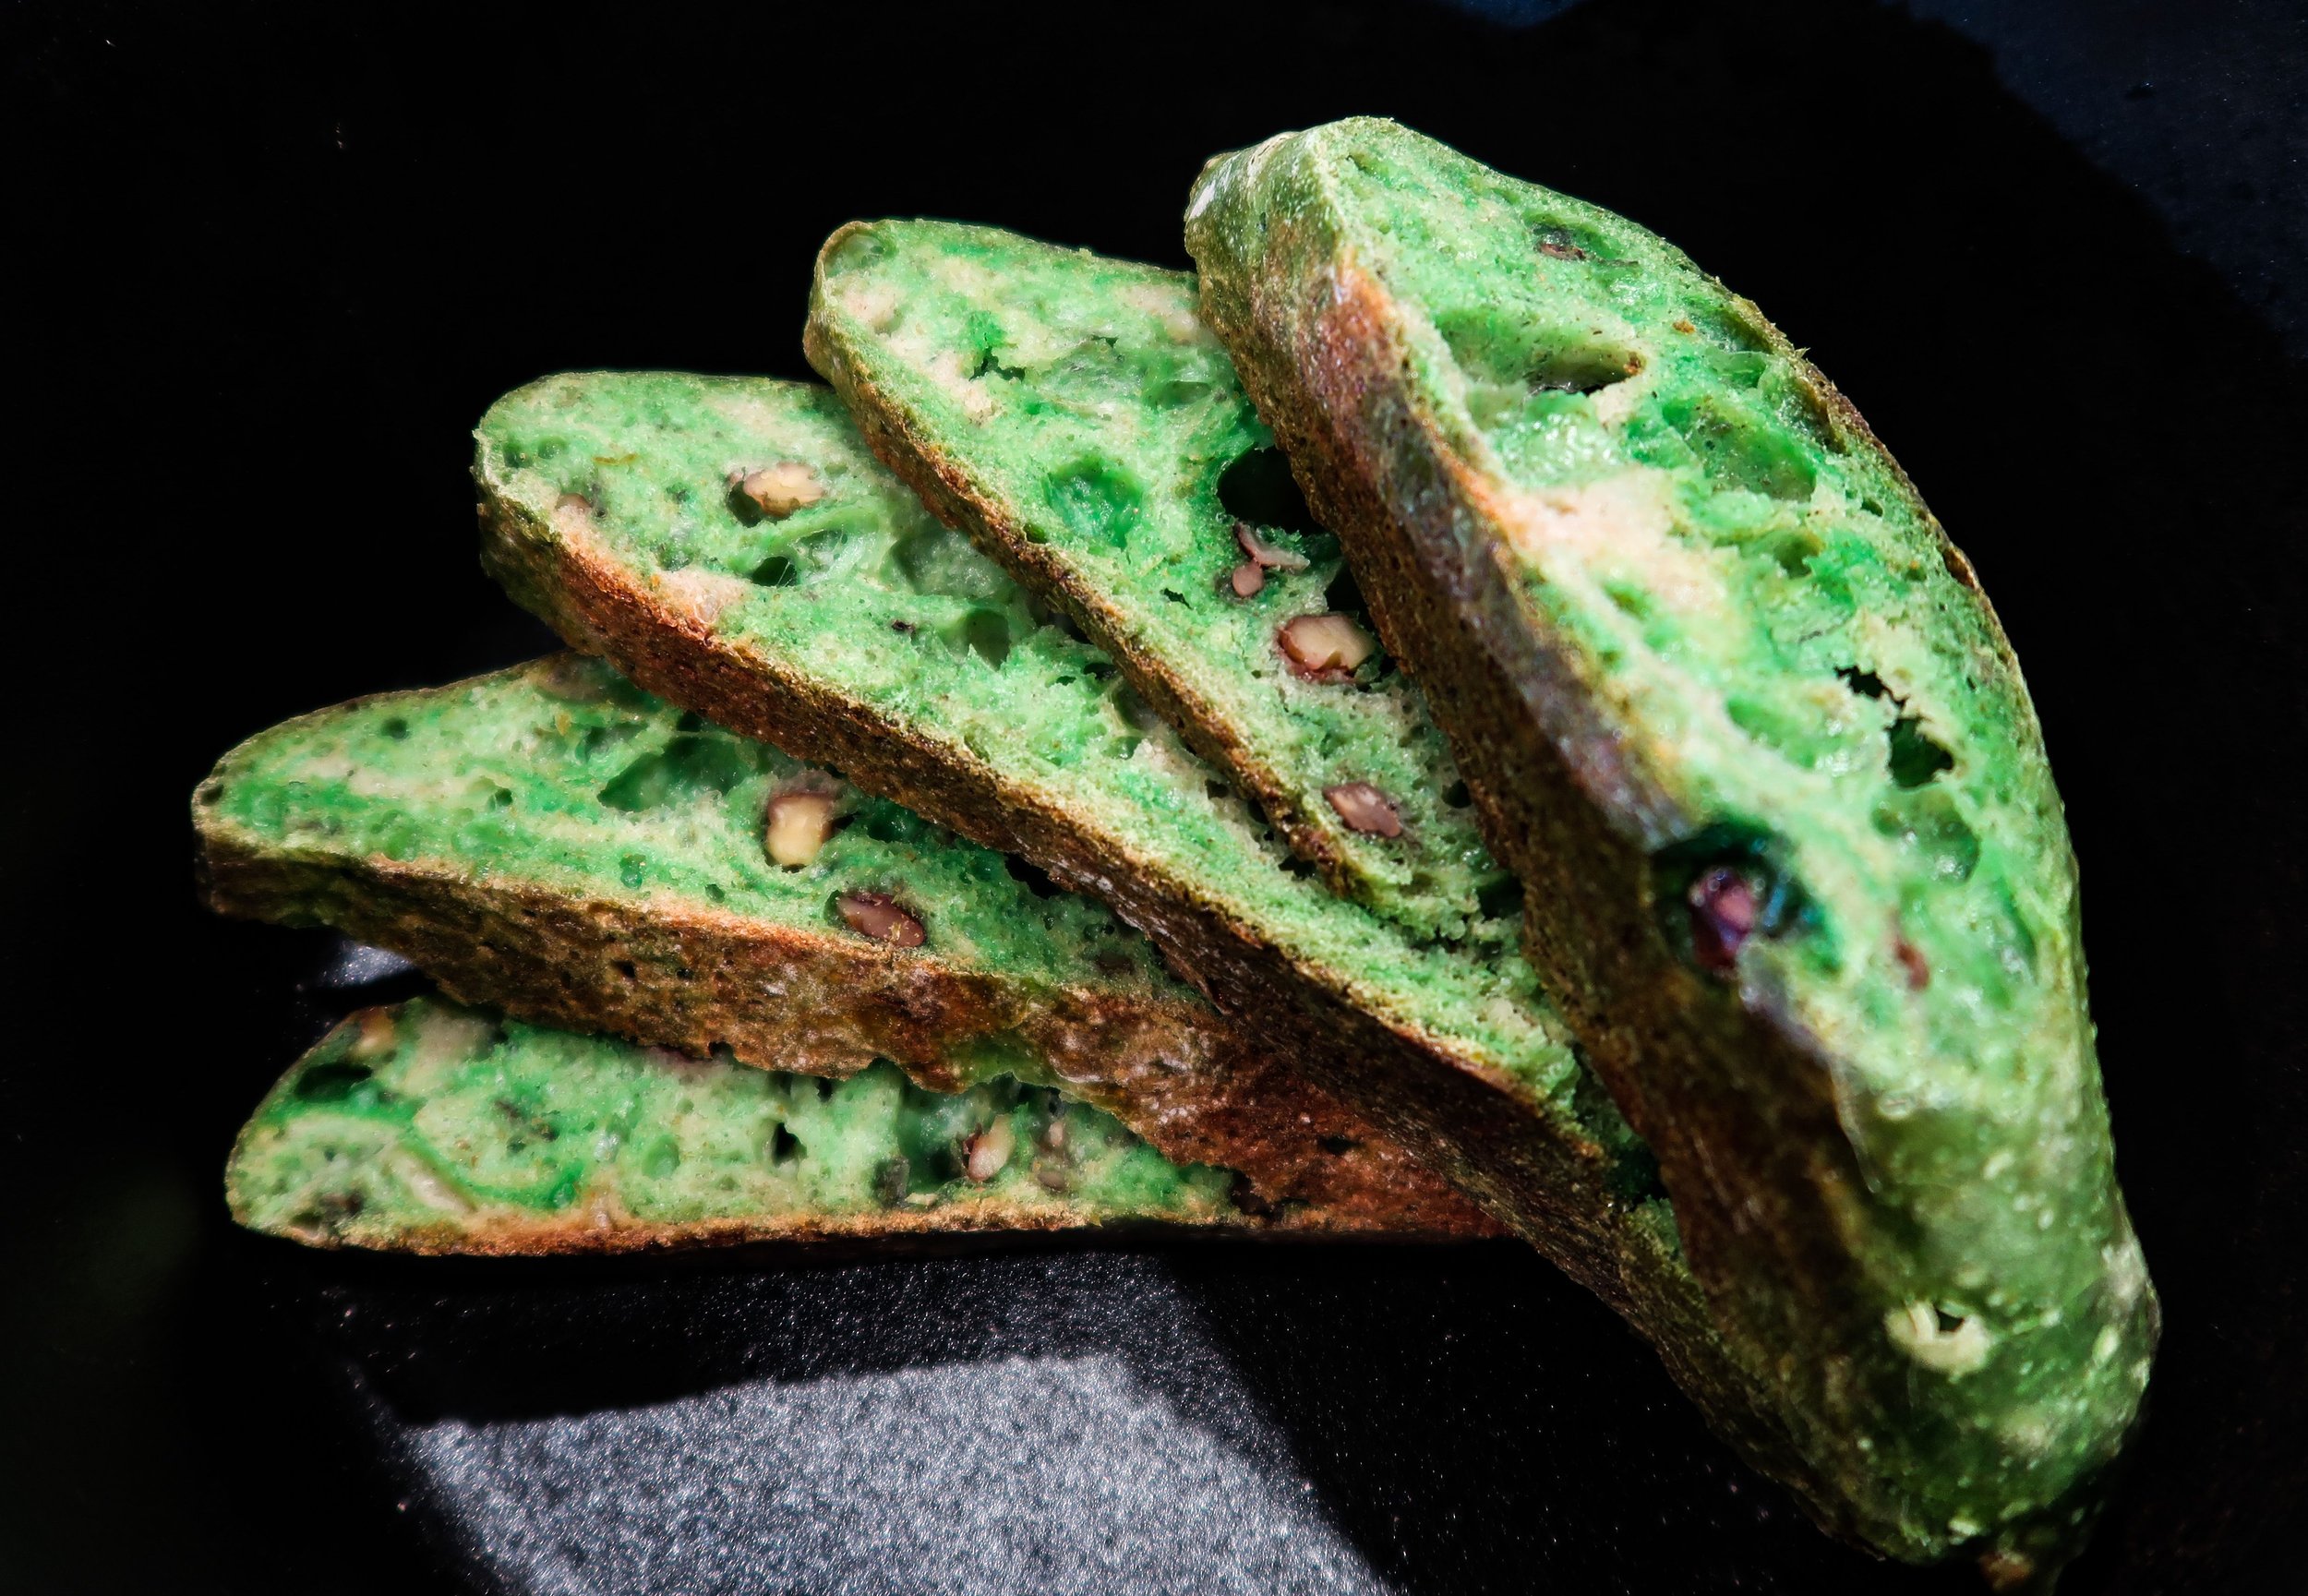
When I first started my sourdough journey, my expectations were high. I made my starter when COVID hit (much like everyone else) and started baking with it immediately after around 2 weeks of daily feeds, thinking my starter was mature enough to use. I named my starter Domino and the beginning of my sourdough journey was filled with disappointment, scouring through sourdough forums, fear of failure, and impatience. My first loaves were under-proofed, flat, dense, and pretty much pancakes every, single, time. I experimented using pandan for one of my first loaves and had something that resembled an alien loaf that I thought (at the time) was immensely successful. I kept all my sourdough discard and made discard crackers as well as saving my starter and shipping it out to friends across the country. I fell in love with researching and quickly learned that the possibilities were endless. I learned so much from the online community and now, after five years of baking it, feel like I can contribute to questions beginner baker
I want to consolidate all my sourdough knowledge onto an online page and address the questions I (and most fledging bakers) have had in the beginning. This FAQ page will address starter questions, proofing your loaf, baking, and common mistakes. Will also include a my sourdough inspo bakers at the bottom.
Sourdough Starter
A sourdough starter is what grows your yeast culture. It is essentially water, flour, and time. Learning how to read your starter takes time, and super active starters can triple or quadruple in volume in just a few hours in the right temperatures. Ambient temperature greatly affects how your sourdough starter behaves and activity can be controlled using temperature: proofing boxes (warm) and refrigerators (cold). Nowadays, I keep my starter small, and in the fridge so that I do not have discard and I can use almost all of it when baking a loaf. I try to feed my starter once a week, or if I am mixing a loaf, I will feed it because I have flour out! I try to have ~20g of starter at all times. If I am planning to bake, I will feed my starter around 25g of flour and water so that I have 60g of starter for baking my loaf + some leftover to feed. If I am not planning to bake, then I’ll feed my starter a smaller amount—10g or so—so that I can feed it again closer to when I am going to bake to ensure that my starter is pretty active.
The most common ratio I feed my starter is a 1:1 flour to water ratio. If you are planning to keep your starter in the fridge for longer, than a higher rater of flour is recommended so that your starter has more “food” while it rests in the fridge. Any unfed starter will eventually become “watery” as the yeast culture will eat up all the fresh flour/food. When this happens, your starter will smell very acidic. Neglected starters even form hooch, or a darkish liquid that forms on the top of your starter, and a natural byproduct of the fermentation process. If this happens, pour hooch out (maybe even throw some of the starter out) and feed. Very neglected starters will form mold and will be unusable—they are dead and you will need to toss and start over.
Some sourdough recipes include the starter feed as a first step because the flour used to feed is calculated in the total baker’s percentage of the entire recipe. For sweeter breads, recipes use a stiff sweet starter (which includes more flour and adds sugar) so that the acidity is decreased. I have made sourdough milk bread and croissants using my starter but find that after a day or two, these sweeter breads turn slightly sour and don’t keep very well. It is also a labor of love because it does take much longer than a regular yeasted bread.
How do you read your starter?
A freshly fed starter will have a pasty consistency. Mark the height of your freshly fed starter in your container and see how much time it takes to double in volume. If your starter is slightly domed at the top, it is still rising. Every starter will reach a peak point when it is the most active, and then slowly deflate/fall down. (This is debated but) some say it is best to bake with your starter when it is near, at, or shortly after the peak. Use a straight-edged, clear container to store your starter so that you can see the activity!
How do you know if your new starter is active (enough to bake)?
The float test is when you take your peaked starter and place it in water. If the starter floats, then it is considered active enough to bake with. For a new starter, if consistently fed every time at peak, I think the 2 week mark would be safe to start baking—or whenever the starter can double or triple at 75-80 degrees in 4-5 hours. This would mean copious amounts of sourdough discard and ensuring that you start with a small amount of water and flour - it is better to start with 5g of flour and 5g of water and have little discard than 20-30g of both and end up with frozen discard containers that will (probably) never be used.
Mixing Your Loaf
When it comes to mixing your sourdough loaf, I choose efficiency over everything else. In the beginning, I was guilty of never taking my eyes off of my loaf and monitoring it like a helicopter mom, and when I see TikToks of people taking their loaves out because of their social schedules to stretch and fold etc. it is amusing because I totally get the feeling. Today, I mix everything together in a bowl, and leave it alone for hours, stick it in the fridge, fold and shape it, and then stick it back into the fridge. If I have the time, I will do a stretch and fold or maybe two, but sometimes I just like keeping my hands dry. If you have the time for a personal experiment (or if you don’t, look up videos online) try making 2 loaves: loaf #1 mix everything together and fold with a spatula 1-2x vs. loaf #2 attempt an autolyse / slap and fold / and stretch and folds every hour and see if there is a difference in overall crumb + texture!
What is autolyse?
Autolyse is mixing the water and flour of your loaf recipe before hand (~1 hr) so that all of the flour hydrates before you are adding in starter and salt. If performing an autolyse, you would mix water + flour, wait, and then add in starter and salt (at the same time, or staggered, see below).
Can you add salt in at the same time with your starter?
Yes! Some say that this slows fermentation, but the salt will eventually be added in anyway so I just add it in at once so that the scale can come out once and then stay in the drawer.
What the heck is a slap and fold and a stretch and fold?
A slap and fold: imagine scooping up the dough from your bowl and slapping it back into the bowl and folding it over itself—essentially a violent way of folding the dough in half over itself. It’s usually the first method bakers (about an hour after starter is added) used to develop gluten and it is when you can be the roughest with your dough.
A stretch and fold: performed a little later in the fermentation process and a more gentle folding of the dough. Imagine cupping underneath the dough in your bowl, your hands meeting in the center and palms facing up. Lift the dough up and stretch the dough away from you so that you are folding over the top half of the dough over itself. Turn the bowl 180 degrees to do the other side. Turn the bowl 90 degrees to perform this fold on the sides as well. Your dough ball should look a little more square-ish now! 3-4x stretch and folds every half hour or so is the most I’ve ever done. By the last stretch-and fold, your dough should be retaining more of its shape. Note: a bowl of water and wet hands will be your best friend here. Also, remember to leave your dough to ferment after your last stretch and fold, it probably needs more time to ferment!
What is preshaping & How do you shape a loaf?
Preshaping means turning your dough over into a floured surface and creating some surface tension in preparation for it to be shaped. To build the surface tension, use a bench scraper or the edge of your palm to pull the dough towards you so your dough ball “tightens” and a skin forms. After preshaping, the dough and the gluten rest to prep for final shaping!
Shaping a boule is the easiest shaping method: turn your preshaped dough over onto a floured surface (skin side is down) and fold the corners/sides of the dough towards the center. Pinch the center to seal the seam and place in a floured banneton.
Shaping a batard is a little more complex: turn preshaped dough onto surface and attempt to make a rectangular shape. The longer sides should be parallel to you. Take two corners of one of the shorter sides and fold into the middle. Repeat for the other side. Now you should have a long rectangle / oval shape. Take the edge farthest from you, gently pull up, and pinch the dough over itself to create a roll starting point. Roll dough towards you and once you reach the end, pinch both sides of dough to seal side seams. Gently lift dough up and place into a banneton. Seal the edges in the basket while it’s resting in the banneton. I like to leave my loaf to rise for 1-2 hours at room temperature before putting it in for the cold proof. Cover using a shower cap, loose plastic, or a kitchen towel and pop into the fridge.
Baking Your Loaf
I bake my sourdough in a Challenger Breadware Pan. It took me a couple of years to perfect and the main culprit was that my oven was not hot enough (surprise surprise). You can also use a dutch oven or a pizza stone to bake your loaf—-anything or vessel that gets really hot and retains heat. The general method is to bake in a closed vessel for 15 minutes, and then take the lid or top off for the rest of the bake (30-35 minutes). I like to use ice cubes to create more steam in my pan when I place my scored loaf in which helps with the oven spring and ear formation. Steps below:
Preheat oven with dutch oven or pizza stone to 400-450
Turn your loaf over into a piece of parchment paper or silicone baking mat
Score loaf
Carefully take the lid off of the vessel and place loaf in with 4-5 ice cubes
Place lid and leave in the oven for 15 minutes
Take the lid off
Keep baking for rest of baking time (optional: lower oven temperature to 25-50 degrees lower at this point)
Take the loaf out of the oven and let it cool on a wire rack
Cool completely and then cut
Common Mistakes & Culprits
UNDERFERMENTATION: this will be the case 80% of the time—don’t rush the process!
Oven (or vessel) not hot enough. Can experiment with different temperatures but having a high initial bake temperature is crucial for the rise
Shaping: something that just takes practice
Scoring: How deep the cut is, what angle the score is made, how to get an ear vs. no ear…this also takes practice!
Baking anxiety: if sourdough has taught me one thing, it is patience. Be patient, sourdough takes time and the dough will know if you rush it so let it do it’s thing :)


Sourdough Bagels


Recipe from Littlespoonfarm & Lions bread. Makes ~ 8 bagels
Feed: 15g starter + 50g AP +50g water
100g sourdough starter
255 water
40g honey
10g fine sea salt
250g bread flour
250 ap flour
For bagel bath, 3 tablespoons light brown sugar with 1 tablespoon of baking soda and boil each side of bagel 30 seconds. I add toppings immediately out of the bath so the toppings can stick. Favorite toppings are garlic powder, everything bagel seasoning, and a shredded cheese!